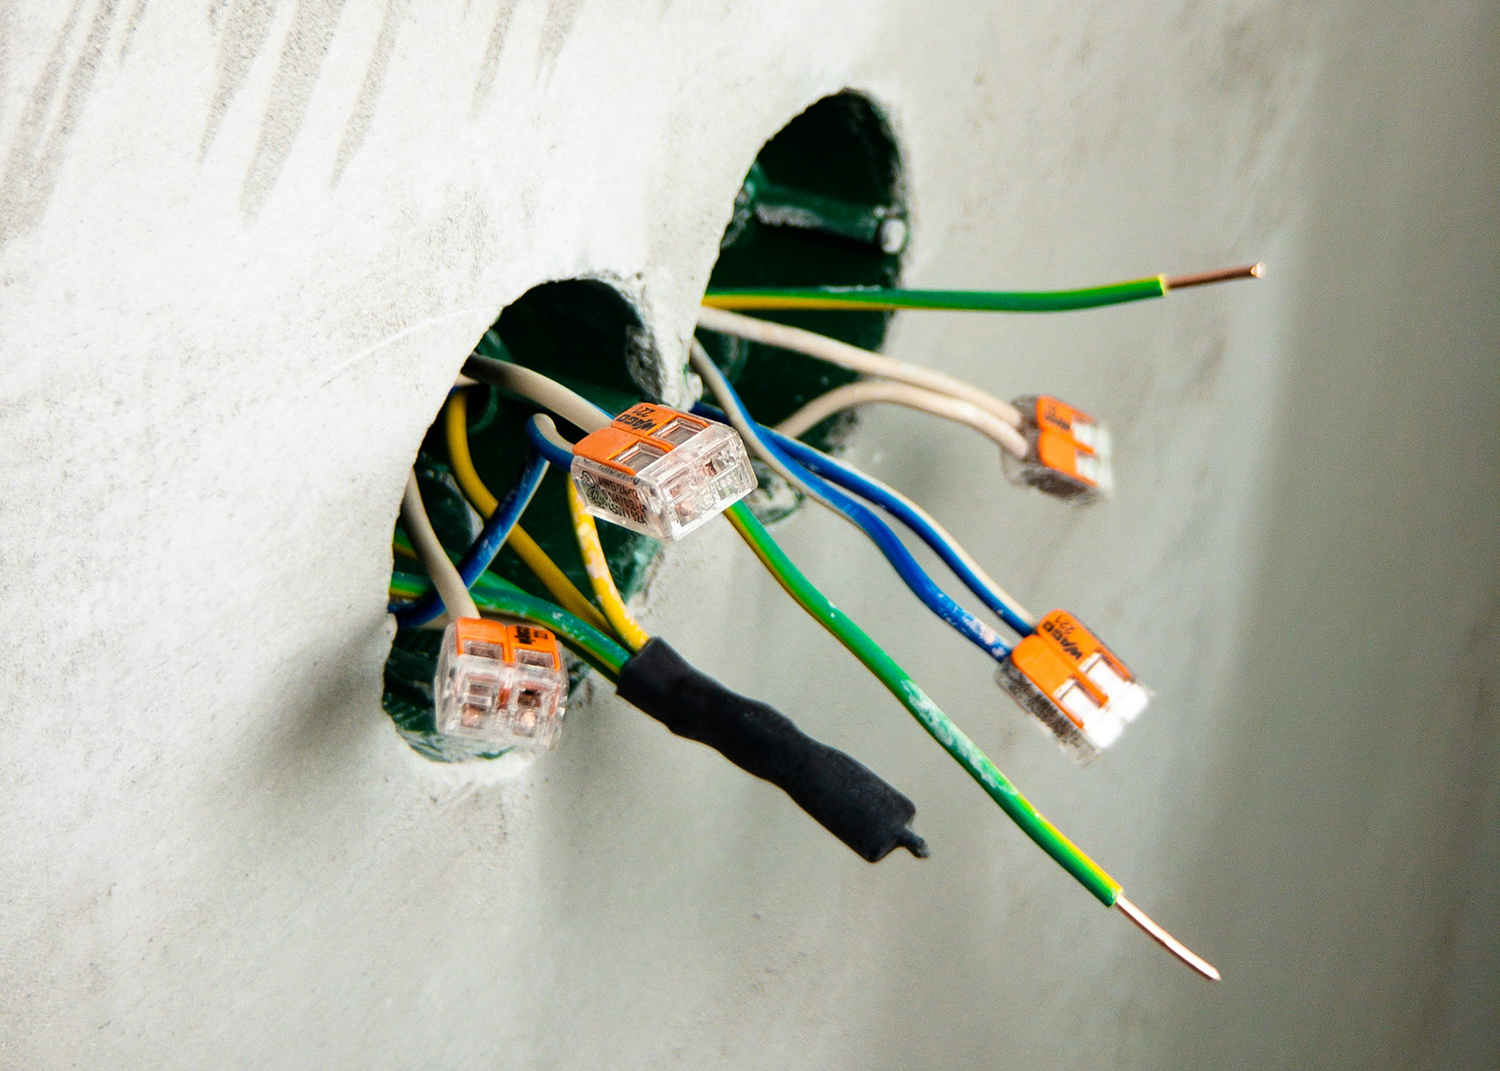
How to replace a plug socket
22/05/2024

Fixing a Damaged Socket
A socket can become damaged due to various reasons, such as a physical blow breaking the faceplate or overheating causing scorching. Scorching usually results from overloading the socket or loose connections in a plug. It's crucial to address the underlying issue before plugging anything back in to prevent recurrence.
Steps to Fix a Damaged Socket
Step 1: Isolate the Circuit
- Turn off the circuit and use a socket tester to confirm it's dead.
- Unscrew the socket faceplate and carefully pull it away from the wall. Keep the screws in case the new ones don't fit.
Step 2: Disconnect the Wires
- Loosen the terminal screws and disconnect the cable cores.
- If the insulation is heat-damaged, trim back the cores and strip the ends.
- If the earth core is bare, cover it with green/yellow sleeving.
Step 3: Connect the New Faceplate
- Attach the red core(s) to the live terminal of the new faceplate, the black core(s) to the neutral terminal, and the earth core(s) to the earth terminal.
- Tighten all terminal screws securely.
- Reattach the new faceplate. If the new screws don't fit, use the original ones.
- Use a socket tester to ensure the wiring is correct.
Adding an Extra Socket
If you need more sockets, you can convert single sockets to doubles. For a completely new socket, you can add a spur from a ring circuit. This can be done by:
- Running the spur from an existing socket.
- Using a junction box connected to the cable run of a suitable ring circuit.
Ensure the circuit has RCD protection for safety.
