Blog

14/11/2027

How to Trim and Hang a Replacement Door

Doors in older houses often don't conform to standard sizes, requiring you to either trim a new door to fit or have one custom-made. When trimming a door, avoid cutting more than 10 mm from each side of a flush door or 5 mm from each side of a panel door to maintain its structural integrity. Remember that old door frames might not be perfectly straight. Use new hinges of the same size as the existing ones or reuse the old ones if they're still in good condition.

Tools Needed:

  • Tape measure
  • Sharp pencil
  • Wood plane (hand or power)
  • Hard point hand saw
  • 25 mm (1") chisel
  • Hammer or wooden mallet
  • Drill (corded or cordless)
  • HSS drill bit
  • Workbench
  • Wooden wedges
  • Internal door
  • 2-3 suitable door hinges
  • Screws

Step-by-Step Guide

Step 1: Measure the New Door to Size

  1. Use the Old Door as a Guide: If the old door fit well, lay it on top of the new door and trace around it with a pencil to mark where to cut.
  2. Measure from the Frame: If you don't have the old door, measure the frame directly. Mark the top of the frame height on the door edge.

Top Tips:

  • Testing the Fit: Before test-fitting the door, partially hammer four nails into the frame at the depth of the door to stop it from falling through.
  • Holding the Door in Place: Use wedges or screwdrivers under the door to keep it elevated while measuring.
  • Measuring Gaps: Aim for a 2 mm gap around the top and sides of the door. A flat penny can help judge this gap.

Step 2: Cut the Door to Size

  1. Secure the Door: Use a workbench to hold the door securely.
  2. Mark the Bottom: Transfer your measurements to the bottom of the door and mark the cut line.
  3. Cut the Door: Wearing goggles, use a saw to cut the door to the correct length.
  4. Fit to Frame: Check that the hinge side of the door fits neatly to the frame. Mark the door to the correct width.
  5. Plane the Edges: Use a hand or power plane to trim the sides evenly until the door fits. Smooth any sharp edges with abrasive paper.

Top Tip: If you need to remove a large amount of wood from the door height, cut from both the top and bottom to maintain panel symmetry. Keep checking the fit and use a plane for finer adjustments.

Step 3: Measure Hinge Positions

  1. Position the Door: Use wedges and a penny to create an even gap around the door while holding it in the frame.
  2. Mark Hinge Positions: Mark the positions of the existing hinge cutouts on the door edge.

Step 4: Fit the Hinges

  1. Position Hinges: Draw around each hinge with a sharp pencil.
  2. Mark Hinge Depth: Measure the thickness of the hinge plate and mark the depth on the door face.
  3. Chisel the Recess: Use a 25 mm chisel and mallet to outline and create the hinge recesses. Make series of cuts 5 mm apart to the marked depth.
  4. Avoid Splitting: When chiselling with the grain, make multiple small cuts to avoid splitting the wood.
  5. Install Hinges: Place the hinges in the recesses and use them as guides to drill pilot holes. Secure the hinges with screws, fully tightening them.

Top Tips:

  • Mark Screw Positions: Use a hinge to mark where the screws will go and drill shallow pilot holes slightly smaller than the screw diameter.
  • Enlarge Hinge Recess: If using larger hinges, enlarge the recess by marking and chiselling the frame accordingly.

Step 5: Hang the Door

  1. Position the Door: Place the door at a 90° angle to the frame, supported by wedges.
  2. Attach Hinges: Initially, only fix one screw at the bottom of each hinge. Check that the door opens and closes smoothly.
  3. Final Adjustments: If satisfied, fix the rest of the screws. If the door catches, loosen screws slightly or remove the door to plane off more wood as needed.

Final Check: Ensure the door opens easily. Adjust screw tightness or plane edges if the door rubs.

14/11/2027

How to Repair a Hole in Your Ceiling

Preparation

  1. Locate the Joists: Use a stud detector to find the joists on either side of the hole.
  2. Mark the Area: Draw lines along the center of each joist using a straightedge and pencil. Connect these lines to form a square or rectangle around the damaged area.

Step-by-Step Repair

Step 1: Remove Damaged Material

  1. Cut Away the Damaged Area: Using a pad saw, cut along the marked lines to remove the damaged plaster or plasterboard.
  2. Remove Nails: Use a claw hammer to remove any protruding nails from the joists.
  3. Prepare Noggin Supports: Cut two noggins (cross supports) from 100mm x 50mm sawn softwood. The noggins should fit snugly between the joists, with half their thickness exposed in the hole.

Step 2: Install the Noggin Supports

  1. Secure the Noggins: Position the noggins so they form the missing sides of the square or rectangle. Drive nails into the noggins at an angle to secure them to the joists.
  2. Cut and Fit the Plasterboard: Cut a piece of plasterboard slightly thinner than the ceiling’s depth to fit the hole exactly. Fix it in place using plasterboard nails along the joists and noggins.

Step 3: Finish the Repair

  1. Apply Bonding Undercoat Plaster: Fill the gap around the patch with bonding undercoat plaster. Ensure it fills the join completely.
  2. Level the Surface: Once the undercoat is dry, apply multi-finish plaster over the patched area to bring it level with the rest of the ceiling. It may be necessary to apply two thin coats rather than one thick coat to achieve a smooth finish.

Additional Tips

  • Safety First: Always wear protective gear, such as safety glasses and a dust mask, when cutting plaster or plasterboard.
  • Ensure Even Application: Use a plastering trowel to apply plaster evenly and achieve a smooth finish.
  • Sand if Necessary: After the final coat of plaster dries, lightly sand the area to blend it seamlessly with the surrounding ceiling.
  • Prime and Paint: Once the repair is smooth and dry, prime the patched area before painting to match the rest of the ceiling.
14/11/2027

Fixing a Damaged Socket

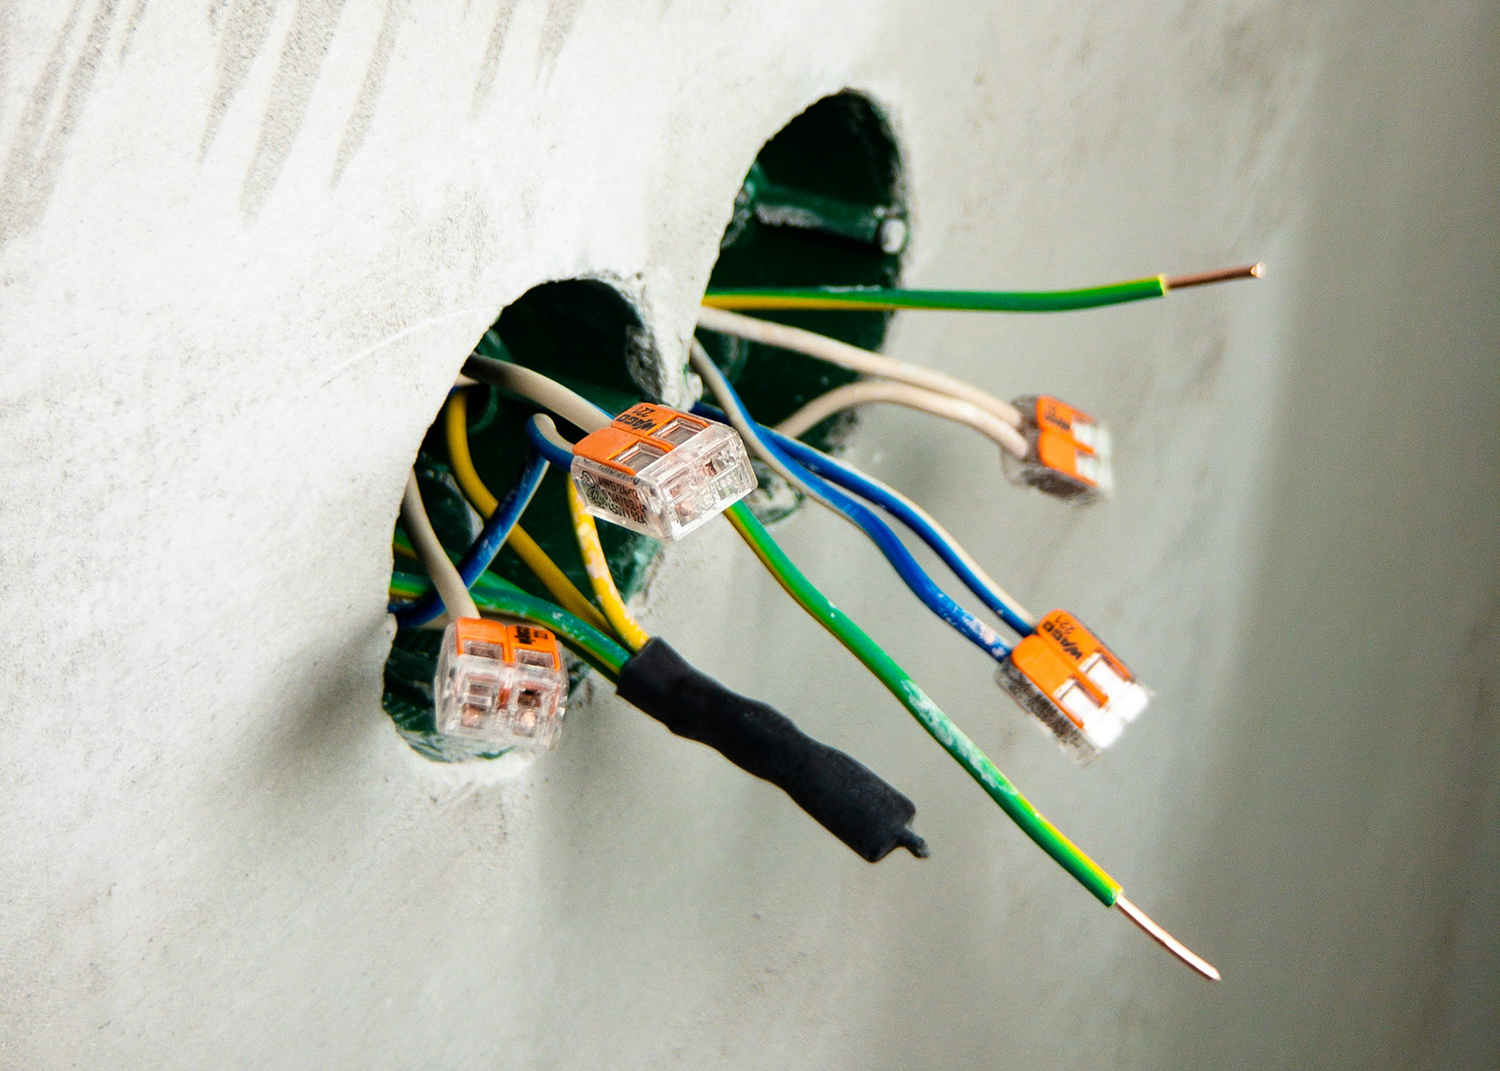
A socket can become damaged due to various reasons, such as a physical blow breaking the faceplate or overheating causing scorching. Scorching usually results from overloading the socket or loose connections in a plug. It's crucial to address the underlying issue before plugging anything back in to prevent recurrence.

Steps to Fix a Damaged Socket

Step 1: Isolate the Circuit

  1. Turn off the circuit and use a socket tester to confirm it's dead.
  2. Unscrew the socket faceplate and carefully pull it away from the wall. Keep the screws in case the new ones don't fit.

Step 2: Disconnect the Wires

  1. Loosen the terminal screws and disconnect the cable cores.
  2. If the insulation is heat-damaged, trim back the cores and strip the ends.
  3. If the earth core is bare, cover it with green/yellow sleeving.

Step 3: Connect the New Faceplate

  1. Attach the red core(s) to the live terminal of the new faceplate, the black core(s) to the neutral terminal, and the earth core(s) to the earth terminal.
  2. Tighten all terminal screws securely.
  3. Reattach the new faceplate. If the new screws don't fit, use the original ones.
  4. Use a socket tester to ensure the wiring is correct.

Adding an Extra Socket

If you need more sockets, you can convert single sockets to doubles. For a completely new socket, you can add a spur from a ring circuit. This can be done by:

  • Running the spur from an existing socket.
  • Using a junction box connected to the cable run of a suitable ring circuit.

Ensure the circuit has RCD protection for safety.

14/11/2027

How to Plaster a Wall

Equipment Needed:

  • Plaster
  • PVA Adhesive
  • Bucket
  • Plastering Trowel
  • Plasterer's Hawk
  • Paddle Mixer
  • Paint Brush
  • Spray Bottle
  • Sandpaper

Steps to Plastering a Wall

  1. Prepare the Wall Begin by ensuring the wall is clean and ready for plastering. Remove any loose plaster, dust, and debris that could hinder the plaster from adhering properly. If working with new plasterboard, apply jointing tape to the seams between the boards.

  2. Prime the Wall Apply PVA adhesive to the wall surface using a roller. This helps the plaster adhere better.

  3. Mix the Plaster Prepare the plaster by gradually adding it to a bucket of water. Follow the plaster’s instructions for precise water and plaster ratios. Mix until you achieve a smooth, mud-like consistency. A paddle mixer at low speed is recommended for this task. Use a trowel to incorporate any plaster stuck to the bucket’s sides.

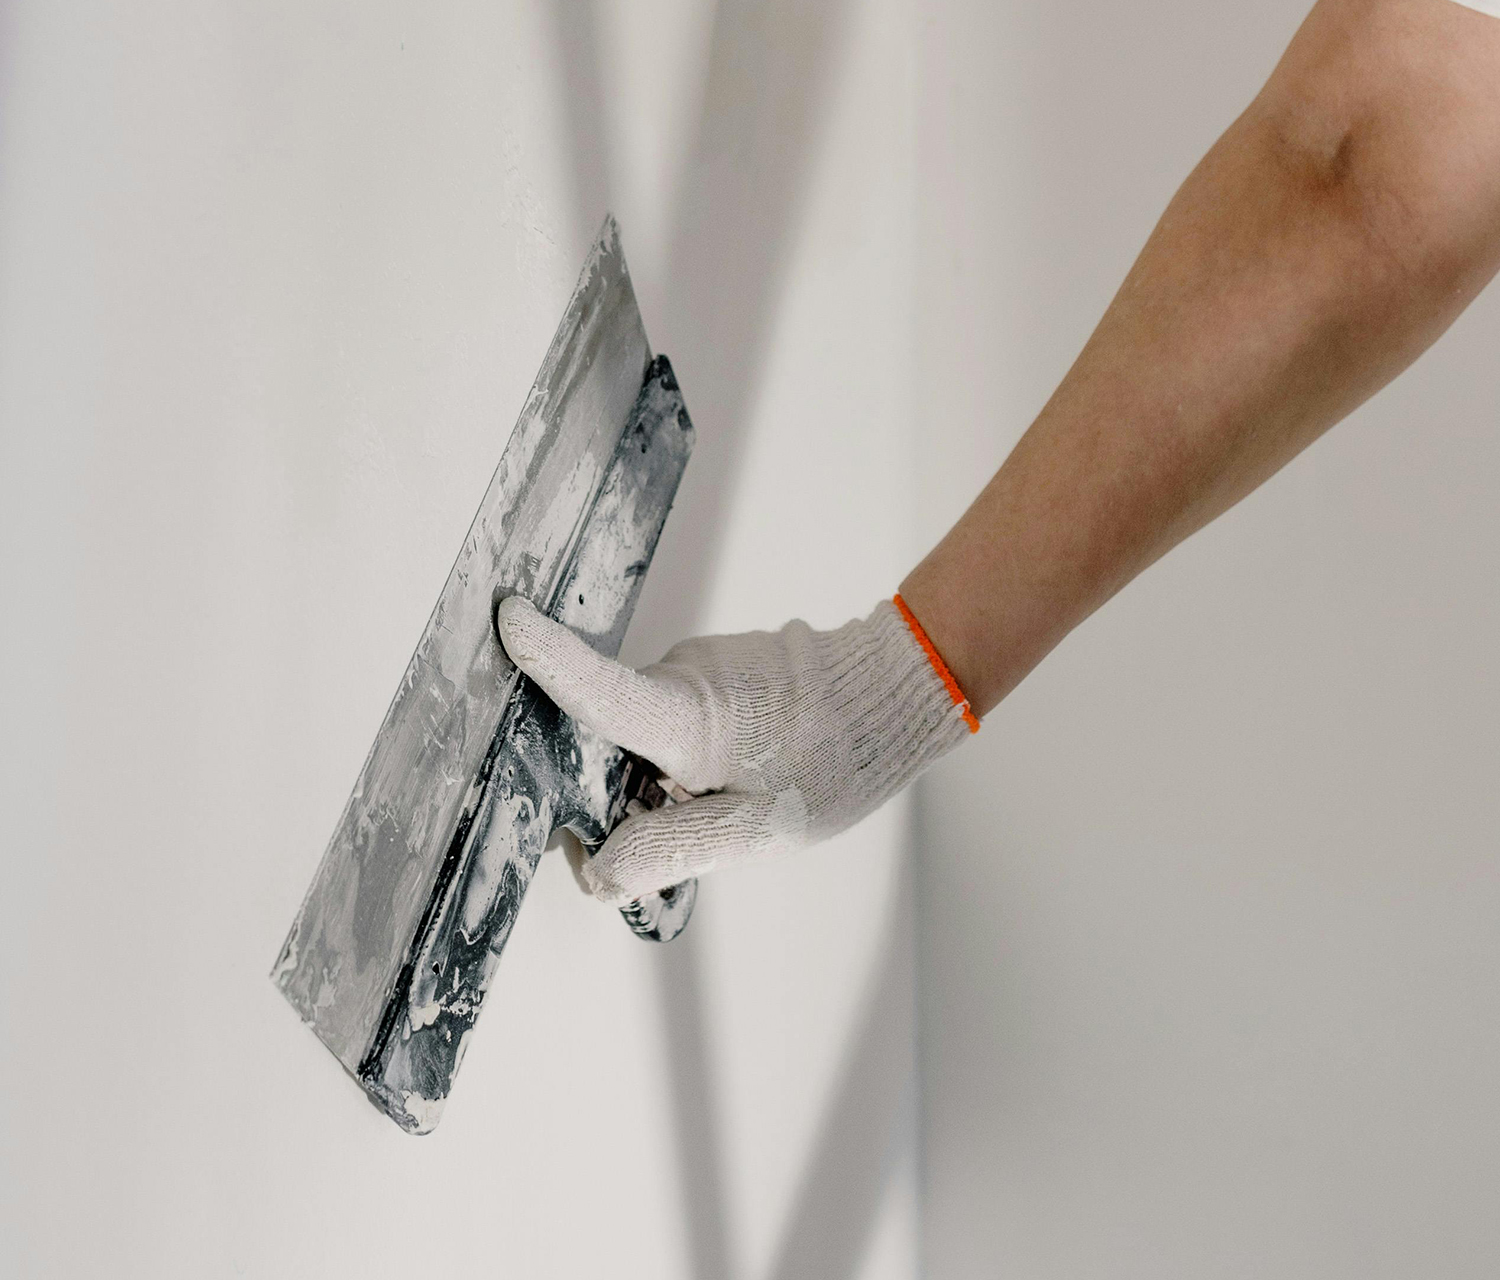
  4. Apply the First Coat With the plaster mixed, you can start applying the first coat. Hold the plasterer's hawk in one hand and the plastering trowel in the other. Begin in the bottom left corner of the wall. Place some plaster on the hawk, and from there, transfer small amounts onto the wall using your trowel at a slight angle. Spread the plaster upwards with firm, even pressure, flattening the trowel towards the end of each stroke to smooth it out. Overlap each stroke slightly to avoid gaps. Cover the entire wall surface, working quickly to avoid drying marks.

  5. Smooth Out Imperfections After 20 minutes, smooth out any bumps or gaps with the trowel. Lightly spray the plaster with water to aid this process. Use a wet paintbrush for corners and edges.

  6. Apply the Second Coat Mix a thinner batch of plaster for the second coat, as specified by the plaster's instructions. Apply this coat just as you did the first. Once set, use the spray bottle and trowel to eliminate any remaining imperfections, and a paintbrush for the edges.

  7. Sand Rough Edges Once the plaster has fully dried (typically after 24 hours), sand any rough spots with fine-grit sandpaper for a smooth finish.

16/08/2009

Reading time: 5 minutes

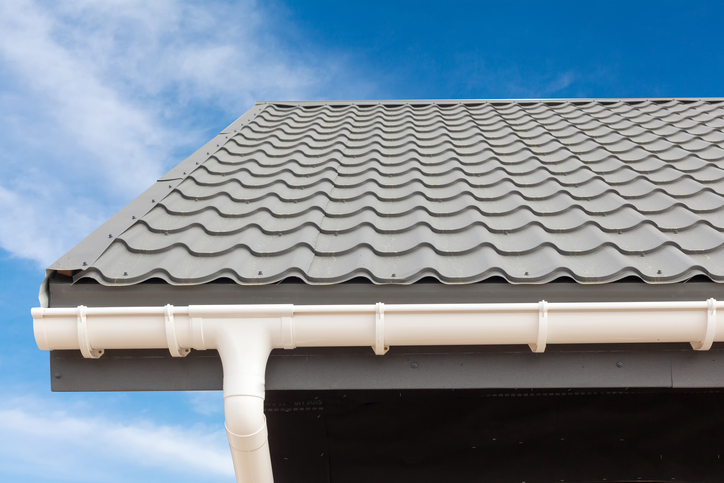
Over time, your guttering may need replacing. Usually it’s just a section of guttering that has been damaged, so it’s not always necessary to replace all of your roof gutters. With this in mind it should be a fairly rare job when it comes to home maintenance, but an important one nonetheless. 


How to know if your gutters need replacing

Gutter maintenance can be one of those jobs that gets overlooked as we tend not to notice signs of wear or damage, at least until there’s heavy rain or cracks and damage actually starts appearing. Cast iron or aluminium gutters can last over 20 years with little care and attention, so it’s easy to forget they need maintenance at all, but it’s still essential to make these checks. Plastic gutters on the other hand, are likely to need replacing if they’re around 20 years old. If you’re unsure, here are some things to look out for when deciding on gutter replacement.

Gutter repair safety

Before repairing any guttering, take all safety measures into account. Any job that involves working at height presents risk, even if repairing the guttering on a building like a bungalow. 

First time? - experience is advisable when undertaking any such jobs, so consider contacting a professional to work on it before replacing any guttering.

Secure ladders - if you are confident to fix guttering, ladders should be firmly placed so as not to slip, and ensure you have at least one other person working with you.

Safety first – always put on appropriate safety wear, including eye protection, especially when using power tools. Follow all directions when working with chemicals.

Weather safety – if weather conditions are harsh, from rain or strong winds, consider working on gutters on a different day. You should also avoid working when it’s cold enough for ice patches to form, or during falling snow.

If you’ve found this advice useful, take a look at the second part covering how to remove and replace guttering, or read more about home improvements on Trade Corner.


Disclaimer: The information contained on this page is intended as an overall introduction and is not intended as specific advice from a qualified professional. Travis Perkins aims to avoid, but accepts no liability, in the case that any information stated is out of date.

Always refer to the manufacturer's guidance for installation instructions and product maintenance.