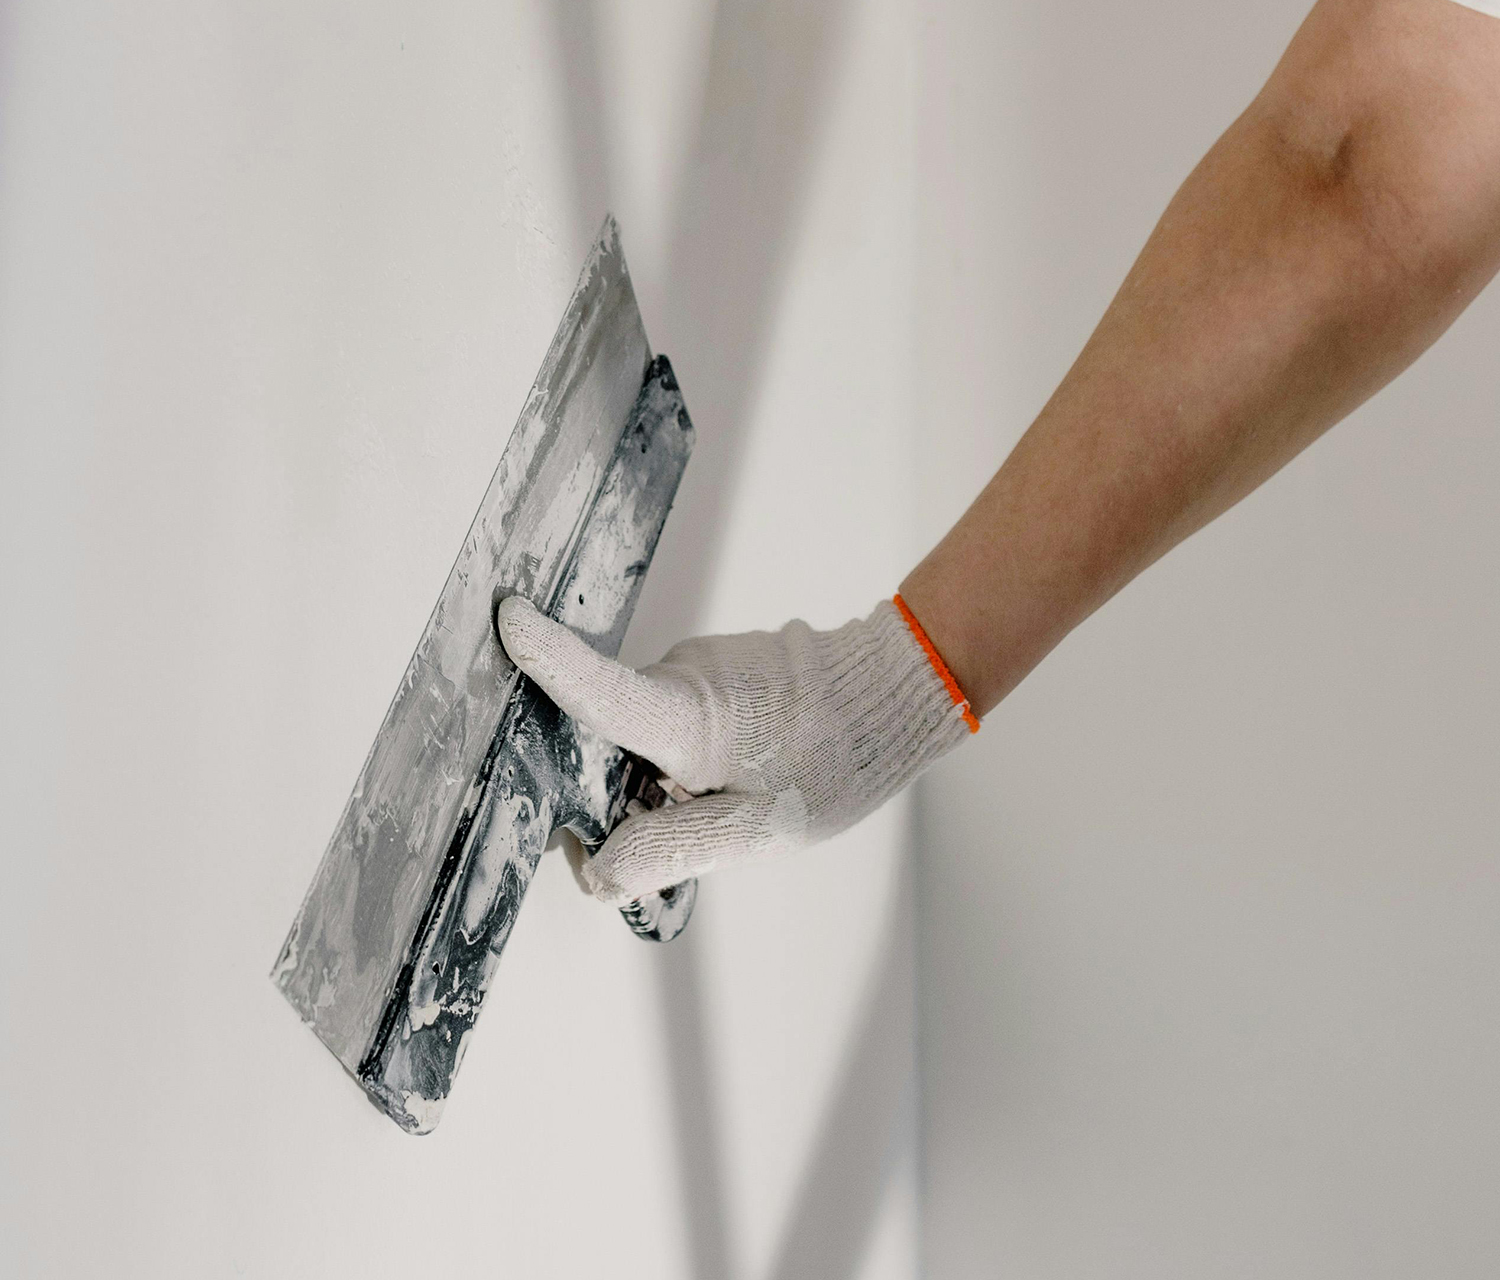
How to plaster a wall

How to Plaster a Wall
Equipment Needed:
- Plaster
- PVA Adhesive
- Bucket
- Plastering Trowel
- Plasterer's Hawk
- Paddle Mixer
- Paint Brush
- Spray Bottle
- Sandpaper
Steps to Plastering a Wall
-
Prepare the Wall Begin by ensuring the wall is clean and ready for plastering. Remove any loose plaster, dust, and debris that could hinder the plaster from adhering properly. If working with new plasterboard, apply jointing tape to the seams between the boards.
-
Prime the Wall Apply PVA adhesive to the wall surface using a roller. This helps the plaster adhere better.
-
Mix the Plaster Prepare the plaster by gradually adding it to a bucket of water. Follow the plaster’s instructions for precise water and plaster ratios. Mix until you achieve a smooth, mud-like consistency. A paddle mixer at low speed is recommended for this task. Use a trowel to incorporate any plaster stuck to the bucket’s sides.
-
Apply the First Coat With the plaster mixed, you can start applying the first coat. Hold the plasterer's hawk in one hand and the plastering trowel in the other. Begin in the bottom left corner of the wall. Place some plaster on the hawk, and from there, transfer small amounts onto the wall using your trowel at a slight angle. Spread the plaster upwards with firm, even pressure, flattening the trowel towards the end of each stroke to smooth it out. Overlap each stroke slightly to avoid gaps. Cover the entire wall surface, working quickly to avoid drying marks.
-
Smooth Out Imperfections After 20 minutes, smooth out any bumps or gaps with the trowel. Lightly spray the plaster with water to aid this process. Use a wet paintbrush for corners and edges.
-
Apply the Second Coat Mix a thinner batch of plaster for the second coat, as specified by the plaster's instructions. Apply this coat just as you did the first. Once set, use the spray bottle and trowel to eliminate any remaining imperfections, and a paintbrush for the edges.
-
Sand Rough Edges Once the plaster has fully dried (typically after 24 hours), sand any rough spots with fine-grit sandpaper for a smooth finish.
